7 Tips For Spray Painting Your Interior in Denver Metro, CO
In the course of painting the interior of your home, you may think about the various ways in which you can get the painting done in a timely manner.
There are many techniques that you can employ, but in terms of speed you can’t do too much better than spray painting — yet it helps if you know what you are doing while you are making use of this most excellent painting technique.
Let’s look at and consider seven tips for spray painting your interior in Denver Metro, CO
1. Remove Furniture Or Move It To The Center
One of the most important things that you can do in terms of making sure that your furniture does not get paint on it and to that end, you have basically two options — removing the furniture from the room or moving it to the center of the room.
When you remove the furniture from the room of course you’re taking the safer route because you’re not going to have the furniture in the room anymore to get paint on it.
By taking it to the center of the room, however, you must then take on one extra step which is to cover it with either a drop cloth or a tarp of some sort that will protect it from paint splatters.
2. Clean Walls Are Necessary
The first step toward having a wall that is painted well is to have a good and clean surface — though you might think that you’re painting the walls and so it doesn’t matter if they’re clean or dirty in the first place, it absolutely does.
Since you’re going to be painting the walls, you should thoroughly clean them using either some sort of a soft cloth or other cleaning fabric, and then once you are done and you have fully clean walls, of course, you have to take the time to make sure that the walls are dry before you proceed.
3. Realize That It’s More Difficult
The process of painting the walls with a paintbrush or a paint roller is fairly intuitive and you can pretty much figure out what you’re going to be doing.
The act of spray painting your walls is a bit more complicated, and thankfully there are online tutorials that are going to be there to guide you in painting, else you might find yourself wondering what you are going to be doing at just about every step of the way.
4. Beware Uneven Surfaces
It’s most important while you are getting the surface ready to paint that you smooth out any uneven surfaces that you have on the wall and make sure that you fill in any holes (small or large) that you might see.
This is because when you are spray painting your walls you’re not going to be correcting these errors with the paint but rather just making them more obvious — fix the problems and then move on to painting.
5. Thin The Paint
Making the time to spray paint your walls means that you are going to have to modify the paint that you are using just a bit to be more compatible with the spray painting system that you are using.
The exact way that you are going to thin your paint is going to be reliant on the kind of spray painting system you will use, so make sure to read up on the instructions prior to doing so.
6. Start In The Corners
Quite possibly one of the more difficult areas of a room to paint is going to be in the corners, and so it is for precisely this reason that you’re going to want to start in the corners when you’re painting with a spray painting system.
This way you can give yourself a bit more time to spray paint and make sure that it looks good before you go on to the bigger parts of the room.
7. Give Paint Time To Dry
Lastly, it’s crucial that you make sure that you give the paint time to dry — if you are planning on applying a second coat, this is especially the case.
As much as we might want to believe that it’s going to look good to have paint sprayed over wet paint, it actually is not a good look — wait for the first coat to dry before you apply a second coat.
Don’t settle for just any painter when you can get the attention to detail and professionalism from Imhoff Fine Residential Painting in Denver Metro, CO. Call us today to speak with one of our professional color consultants.
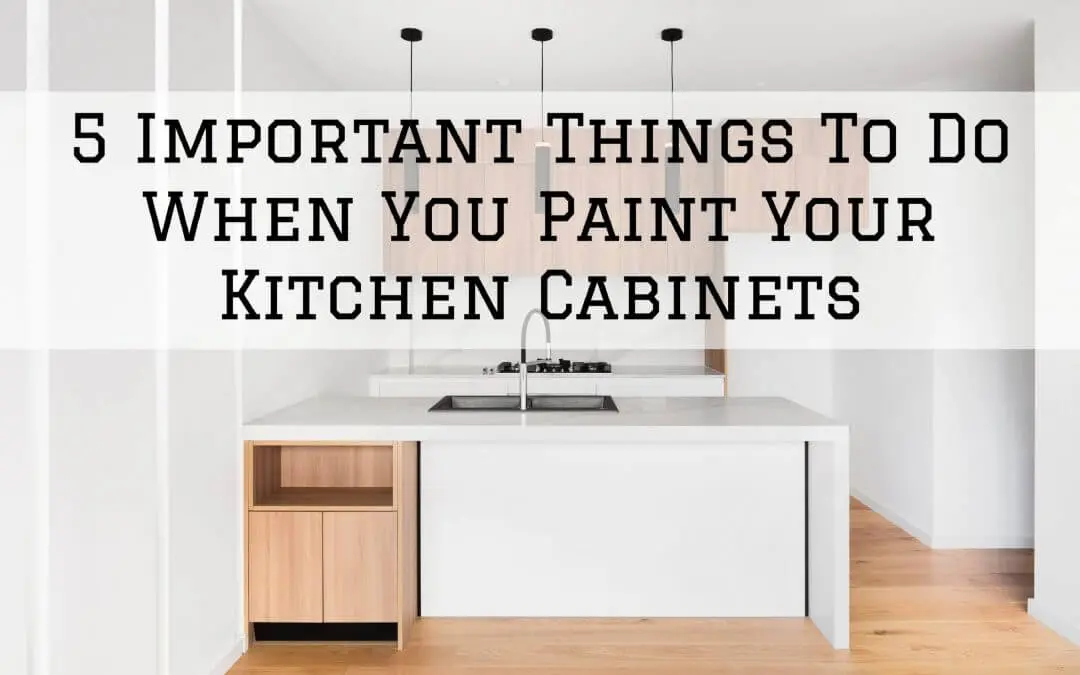
5 Important Things To Do When You Paint Your Kitchen Cabinets in Denver Metro, CO
When you’re looking at painting your kitchen cabinets, you may want to consider a few key things — things that may seem fairly insignificant but in the long run, will make a big difference in how your painting project turns out.
These are the sorts of things that you might read about online and briefly consider before moving on to the next big thing, but which are quite important to the long-term health of your kitchen cabinets since you seek to make them better overall.
With that being the case, let’s look at and consider five important things to do when you paint your kitchen cabinets in Denver Metro, CO.
1. Having A Color Or Colors Chosen
One of the most important part of your painting project is to make sure that you have the color or colors chosen — and this is certainly the case when you’re looking to paint your kitchen cabinets.
There are a number of factors that go into painting the cabinets a certain color, one of them being that you have to think about how the color or colors you plan on looking will look with the color or colors that already exist in your kitchen.
Of course, if you find that the color you’re looking to use for your kitchen cabinets wouldn’t go along well with the walls, for example, it would likely be a good idea to choose another color or colors for the cabinets.
2. Knowing The Schedule For Painting
There are few things in painting that are as valuable as the time that you take to paint — and if you don’t have some sort of schedule figured out for your painting project, it’s going to be quite difficult to make the project happen in a timely manner.
The reason that this is so often the case is that you’re not going to know what you’re going to paint and when you’re going to paint it, as well as the preparation for the painting project itself (more on this in a bit) which if you don’t have scheduled will be difficult to work out.
The best thing to do is to set aside time for the different stages of the painting process so that you know how long the overall process will take.
3. Taking Off Doors And Drawers
A relatively non-intuitive part of the painting process when it comes to painting kitchen cabinets is to first remove the doors and drawers before you start actually painting.
This is important because of two reasons — one being that it’s a lot easier to paint the doors and drawers when they are not attached to the cabinets themselves, and these will not get in your way and interfere with painting if they are removed from the cabinets.
4. Making Sure Your Cabinets Are Free Of Grease
Since your kitchen cabinets have been used in an environment that has seen its fair share of cooking (or so one would hope) it is important that during the cleaning process you look out for and take care of any grease that may be on the surface of the cabinets before you paint.
There are degreasing agents available but of course, you can also rely on the very same cleaning substances you use to remove grease from dishes — and make sure you allow your cabinets to dry before you move on to the next step.
5. Don’t Paint Over Wet Paint
Lastly, though one might not think it necessary to make such a statement, it’s important that you don’t attempt to paint over wet paint.
Though this might seem like a time-saving step, the only thing you’re going to do is to make a sizable mess and this is not going to be good for your kitchen cabinets.
Wait it out until the cabinets are fully dry before you apply a second coat.
Don’t settle for just any painter when you can get the attention to detail and professionalism from Imhoff Fine Residential Painting in Denver Metro, CO. Call us today to speak with one of our professional color consultants.
7 Tips For Decorating Your Hall in Denver Metro, CO
In the pursuit of a better looking home, one area you might not think of updating is your hallway, the area of a home that takes you from one part to another — is a hallway worth improving from an aesthetic point of view since you’re going to just be walking through it to get to another room?
Many would say that it is just as important as any full room, and you don’t have to rush through the hall to get to another room if you can appreciate the way that the hall is decorated.
With that being the case, let’s now look at seven tips for decorating your hall in Denver Metro, CO
1. Consider The Adjacent Colors
When you want to decorate your hall, you need to think not only of the colors that you have going on in your hall itself but the adjacent colors — the colors in the rooms adjacent to the hall, to which said the hall is connected.
It’s the sort of thing that may not seem like it’s all that important yet in the larger scheme of things it might have an impact in that you go back and forth from the hall to other rooms, and it’s good to get a sense of the contrast between the colors.
2. Make Room For Photos
In your hall, you may want to have art and things that are decorative in nature, but it may also be a nice thing to have photographs hanging up — perhaps of family, friends, or even sights that you have seen and wanted to capture.
The nice thing about this is that you can have representations of cherished memories there and see them every time you pass by.
3. Bookshelves For Many Things
You may well know that you can put bookshelves in your hallway, so long as you have the space for the shelves and the ability to easily still walk with them there.
What some people don’t realize is that bookshelves are more than adequate for all sorts of things, such as small framed bits of art, figurines, and the like.
4. Boots And Shoes
Depending on where you have your hall situated, it may be a good idea to have an area set up for the boots and shoes that your family owns.
This will be particularly useful for the purpose of keeping dirt out of the rest of your home.
5. Coats Out Of The Way
If you find that there’s an issue with coats taking up space in your home, it’s possible that you could benefit from taking the coats and hanging them up in the hall.
They’ll look better when they are hanging out — certainly better than sitting on the ground taking up space.
6. An Aesthetic Way To Get Around
The hall doesn’t have to be a plain excursion from one part of your home to another — it can be made into a rather aesthetically pleasing hall.
Whether you paint the walls of the hall, hang something up or more, or even put down some new carpeting in the hall — you can add a lot of joy to the hallway and make it more interesting.
7. Selective Wallpapering
Lastly, think about how you can make selective use of wallpaper to change up the look of your hall.
What this means is to not just entirely wallpaper the entire area of your hallways but rather only certain parts of them — that way your hallways aren’t overwhelmed with the various colors of the wallpapers.
You can best benefit from the fact that to add wallpaper is considerably easier than other ways of adding color to your walls.
Don’t settle for just any painter when you can get the attention to detail and professionalism from Imhoff Fine Residential Painting in Denver Metro, CO. Call us today to speak with one of our professional color consultants.
5 Tips For Laminating Furniture in Denver Metro, CO
The process of laminating furniture is one in which you take plywood and make it into really spectacular looking furniture, or when you take your average countertop and make it into one that is both resistant to water along with being durable.
The work that you’re going to have to put into laminating your furniture might seem like it will be quite difficult but you are going to find that it will be well worth it given the results that you’re going to get from it.
Let’s now look at and consider five tips for laminating furniture in Denver Metro, CO.
1. Be Prepared With The Right Supplies
There are many essentials that you’re going to need in order to properly laminate furniture, and if you don’t have just about all of them, it’s going to be considerably more difficult.
These are going to be things like a pressure roller (more on this later), safety equipment, contact cement, sandpaper, a router, a table saw, and a screwdriver for helping you properly open up your glue.
The good thing about having all of your equipment handy at the beginning of the project is that you are going to know that you will be best prepared to get the job going and that you won’t have to pause the job midway to go to the store and get supplies.
This is why it is important to plan out the full laminating project from beginning to end, so you’ll know that you have everything that you need.
2. Have All Of Your Safety Gear
Some of the most important bits of equipment fall under the category of safety equipment, namely the equipment that you’re going to need in order to protect yourself during the process of applying the laminate to your furniture.
These will be things like eye protection as well as earplugs, and ideally, a way to have some sort of eyewash in the unlikely occurrence that the eye protection is not enough and you get some dust or the like near your eyes.
3. Take Care When Cutting Laminate
Before you’re going to be applying the laminate to your furniture, you’re going to need to cut the laminate first so that it is the right shape for your furniture.
In cutting the laminate, you are going to need to make use of some sort of table saw, and this will be one place in which the protective ear equipment will come in really handy.
You’ll also want to employ the old adage about measuring more than you cut because it is far better to measure something a few times than to have to throw out some laminate because you did not measure it correctly.
4. Removing Misplaced Glue
When you are applying the glue to the laminate, there’s always the possibility that you’re going to get glue places where you do not want it to be — and if that does happen to be the case, you don’t have to think that the end of the world is coming.
The good news is that if you happen to get glue in places where it does not belong, you can use an acetone solution to remove the glue.
5. Pressure Rolling
Lastly, please be advised that the best thing that you can do in terms of making sure that your laminate furniture looks as good as possible is to apply some pressure rolling to the surface.
What this accomplishes is making sure that the laminate has been properly attached to the surface of the furniture, giving it the appearance of furniture that really has that texture and surface all the way through, so to speak.
Don’t settle for just any painter when you can get the attention to detail and professionalism from Imhoff Fine Residential Painting in Denver Metro, CO. Call us today to speak with one of our professional color consultants.
7 Exterior Power Washing Mistakes To Avoid in Denver Metro, CO
When you have some cleaning to do on the exterior of your home, there are many ways and techniques that you can use to make it happen but some are considerably more efficient than others.
With power washing being one of the best ways to clean your home exterior, it’s noteworthy that there are also ways to err in the process and possibly cause extreme damage to your property or worse… injury to yourself or others.
Let’s now look at seven exterior power washing mistakes to avoid in Denver Metro, CO.
1. Leaving Your Plants Unprotected
Your plants are sensitive, especially to things such as water comes out at a tremendous amount of pressure, as well as some of the cleaners that are often used in power washing.
Instead of power washing with your plants unprotected (which may lead to their getting damaged or possibly destroyed), make the time to cover your plants during the power washing process — after gently sprinkling the plants with some water to keep them moist — with a bit of plastic covering.
This will ensure that the plants are kept okay during the washing process.
2. Too Much Pressure Applied
You may be well aware of the fact that the way that power washers work is by shooting out water with a greater pressure such that it is able to clean surfaces quite well with considerably less water used.
However, when you are cleaning there are different pressures which you can set your washer and there are some which will be just too strong for certain surfaces.
Particularly strong streams can even punch holes in the surfaces you try to wash, so it is worth starting with a lower pressure before moving on to higher pressures.
3. Trying To Clean Your Tile Roof
In the world of power washing, one major mistake that people make in starting out is to think that just about anything can be cleaned with their power washer.
This is often not the case as can be demonstrated by the many tile roofs that are damaged by the use of pressure washing — it seems like a good idea in principles but too often, a little too much pressure is used and tiles are blown entirely off the roof.
The better thing to do is to use a less powerful washer for the roof, perhaps even a simple garden hose — this will not damage your roof the way a power washer can.
4. Painted Surfaces Care
If you are considering washing a painted surface, it’s worth noting how long it has been since the surface was painted — and if it was painted a while ago and has seen a lot of sun, reconsider using pressure washing on it.
The issue with washing older painted surfaces is that you can loosen or remove paint entirely if it has been there long enough or has had enough exposure to the sun.
5. Starting From The Bottom
Another mistake that is commonly made is in cleaning homes from the bottom rather than starting from the top.
When you wash the top of your home, the dirt pretty much has nowhere to go but down… and if you’ve already washed the bottom of your home, you’re just going to be getting it dirty all over again.
6. Not Using Any Detergent
Though your power washer is going to do a lot of good just through the pressure that it uses, but making good use of detergent is an important part of the cleaning process.
With a good detergent, you can really get some of the grime off of the surfaces, and you can then rinse off with plain water.
7. Using Hot Water
Lastly please make sure that you do not even consider using hot water with your home pressure washer — for even though it is a common practice in commercial cleaning, it’s not something you should do with home cleaning.
Hot water in home cleaning can damage your equipment, quite possibly, or the surfaces that you are looking to clean — better to stay safe with colder water.
Don’t settle for just any painter when you can get the attention to detail and professionalism from Imhoff Fine Residential Painting in Denver Metro, CO. Call us today to speak with one of our professional color consultants.