Is Enamel Paint the Right Choice for Kitchen Cabinets? If you want kitchen cabinets that hold up to everyday life—cooking messes, grease, moisture, fingerprints, and constant cleaning—enamel paint is often one of the best choices. Unlike standard wall paint, high-quality enamel paint dries to a harder, smoother finish that stands up better to scratches, stains, […]
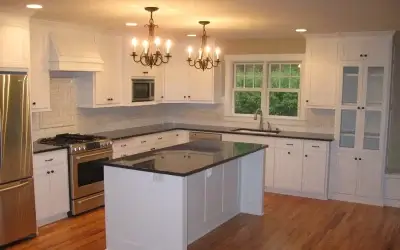
Is Enamel Paint for Your Cabinets the Right Decision?
read more