Here’s a famous line often heard on the site of a wood refinishing or cabinetry project: “Hey, what could go wrong?” Short answer: lots, long answer: more than you can imagine! We’ve been refinishing wood and cabinetry for 20 years, and in that time, I’ve lost count of how many times I’ve said to myself, or the crew: “Hey, add this to the list of 101 ways to screw up a wood project.”
Because it’s true – there are countless ways to go sideways while finishing or restoring wood surfaces – if you’ve discovered a handful, you’ve only just begun.
There is a magic elixir if you’re willing to swallow it; by fixing it you learn how to NOT do it. It’s the only way; you’ve just learned another way that it won’t work, or another thing to not do, and you can set about correcting it…whatever it may be. The cover charge for getting into this club is the willingness to learn and correct mistakes. It’s not like making a bad paint color choice, there’s much more of a commitment involved. There’s a lot of stuff that I’ve learned from because they didn’t go so well and today I’m sharing the top 5 basic tips to help you avoid trouble on a wood finishing project:
Sample Your Stain Color
It’s highly advised to sample your stain color and get an approval of the stained sample from your spouse, a client, designer, GC, or whoever will be helping to complete the painting project. It just needs to get done!
Even if you (or your client) know 100% for sure, absolutely without a single question; It’s still a good idea to test the stain somewhere, like a piece of scrap or the backside of something. It helps you to be sure that you avoid problems such as:
- Crossing a Ben Moore® color over to a Sherwin Williams® stain. Many companies have their own proprietary version of the same color. For example: “Fruitwood” is a color found in many different paint lines and generally the same color with very little differences.
- You’re sampling stain on a piece of wood that is equal in every way to your showcase – preferably from the same lot, or equal in species, age, previous coating, surface prep, etc.
Preparation
Yes, this includes sanding. There is absolutely no way around it. Wood surfaces should be sanded to at least 180 grit before stain, 220 is better. If you skip sanding, or you’re inconsistent, you’ll have blotchiness after using the stain.
If you want to remove the blotchiness, you will need to sand again (after stain). Although you will probably have to sand a rough spot you missed, try to stain the spot, and then it looks terrible because you’re staining is beginning to overlap causing more intense colors in certain areas. You can avoid all this hassle by sanding evenly and thoroughly the first time.
Cleaning
Using a vacuum is okay but it isn’t the best way to get the sanding dust of the grain. The best method of cleaning is to use compressed air.
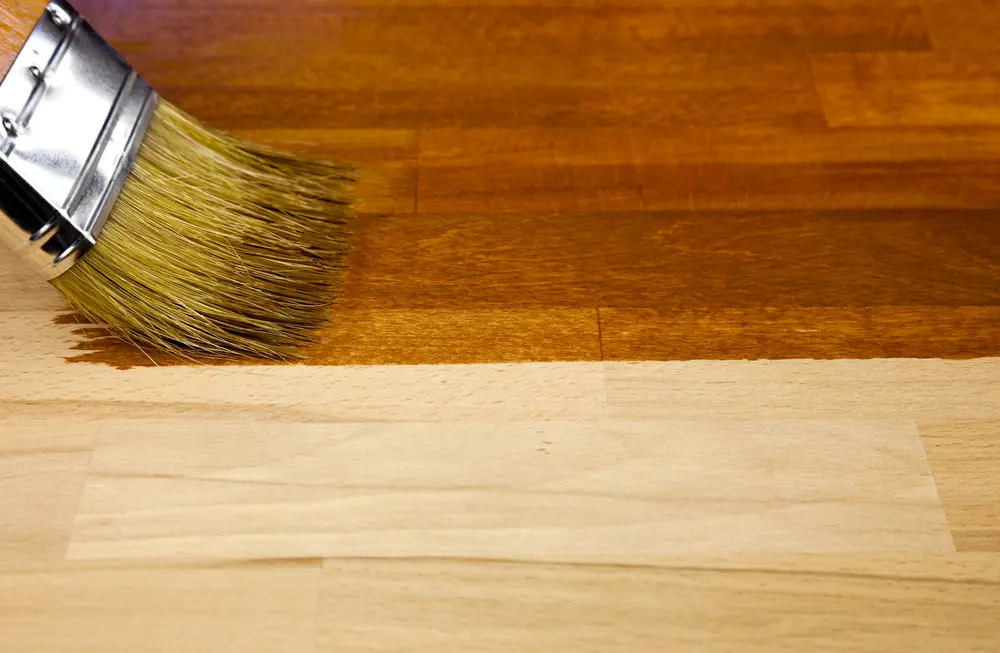
Staining
To condition, or not to condition? That ‘tis the question. Wood conditioner helps stain set evenly, preventing blotchiness and ugly irregularities in the stain color.
The general rule is soft species equals conditioning, hard species equals no conditioning. This isn’t always true. It’s a good idea to practice on a piece of scrap, or the backside of something, before going on the main stage.
Let the stain dry, this means more than dry to the touch. It means overnight, usually. Check the instructions on the can and make sure you’re vented properly. If you don’t let it dry and cure thoroughly, you’ll risk having to strip your clear coat because it isn’t drying, or it dries cloudy, or it’s alligatoring. If the product is designed to be ready for topcoat in 4-6 hours, great! Just follow the guidelines and ask questions when you’re not sure.
Putty and Fillers
In almost any wood project, there are imperfections in the completed work that need to be addressed somewhere in the finishing process. These range from nail/staple holes to little dings, gaps between pieces resulting from wood warp or just ill-fit, reveals, rough spots.
Keep in mind when filling nails holes: not all putties are compatible with all stains and finishes. Pay close attention to this; it can cause problems to appear even after your top coat or clear coats are applied.
Before Sealing and Topcoats
If you don’t like what you’re seeing, STOP! Applying sealer or topcoats will not change or alter some irregularity that you are noticing. Furthermore, applying sealer or topcoat over something you don’t like will not only change it but then more sanding and stripping will need to be done to remove with every coat that was applied.This rule is very simple: as soon as you see something you don’t like, stop and consult, address the issue and start again.
That was my top 5 tips that will save you time, money, and a headache. If you make a mistake, don’t fret. Almost any mistake can be corrected. You just need a bit of patience and a positive attitude!