
Do Walls Need To Be Primed Before Painting?
If you’re wondering whether walls need to be primed before painting, you’re not alone. One common follow-up question homeowners ask is, “What should primer look like on a wall?” A properly primed wall should have an even, dull appearance that creates a smooth surface for paint. While it doesn’t always completely hide the previous color, it should provide consistent coverage without glossy patches or missed areas.
In this guide, we’ll explain when primer is necessary, what a properly primed wall should look like, and five important things to know before painting.
Quick Answer
Not every wall needs primer before painting, but new drywall, repaired surfaces, stains, major color changes, and bare materials usually do. A properly primed wall should look smooth, evenly covered, and dull rather than glossy before the finish coat is applied.
Key Takeaways
- Not every painting project requires primer, but new drywall, repairs, stains, and major color changes usually do.
- A properly primed wall should have an even, matte finish without missed spots or glossy patches.
- Using the right primer improves paint adhesion, durability, and coverage.
- Proper surface preparation is just as important as applying primer.
- Following the recommended drying time helps ensure a smooth, long-lasting paint finish.
Choose the Right Primer for Your Surface

There are different types of primers available for various purposes, and if not used properly, the paint might not adhere to the surface properly. Wall primers are either available as oil-based or latex-based. Oil primers are used for surfaces that have chalked and cracked up paint. On the other hand, latex primers are used for dry walls and to provide a flexible finish with cracking and peeling resistance. The best part about latex primers is that they can be cleaned using soap and water.
Choosing the right primer helps create a smooth, even surface and gives your finish coat the best chance of lasting for years.
Prepare Your Walls Before Priming
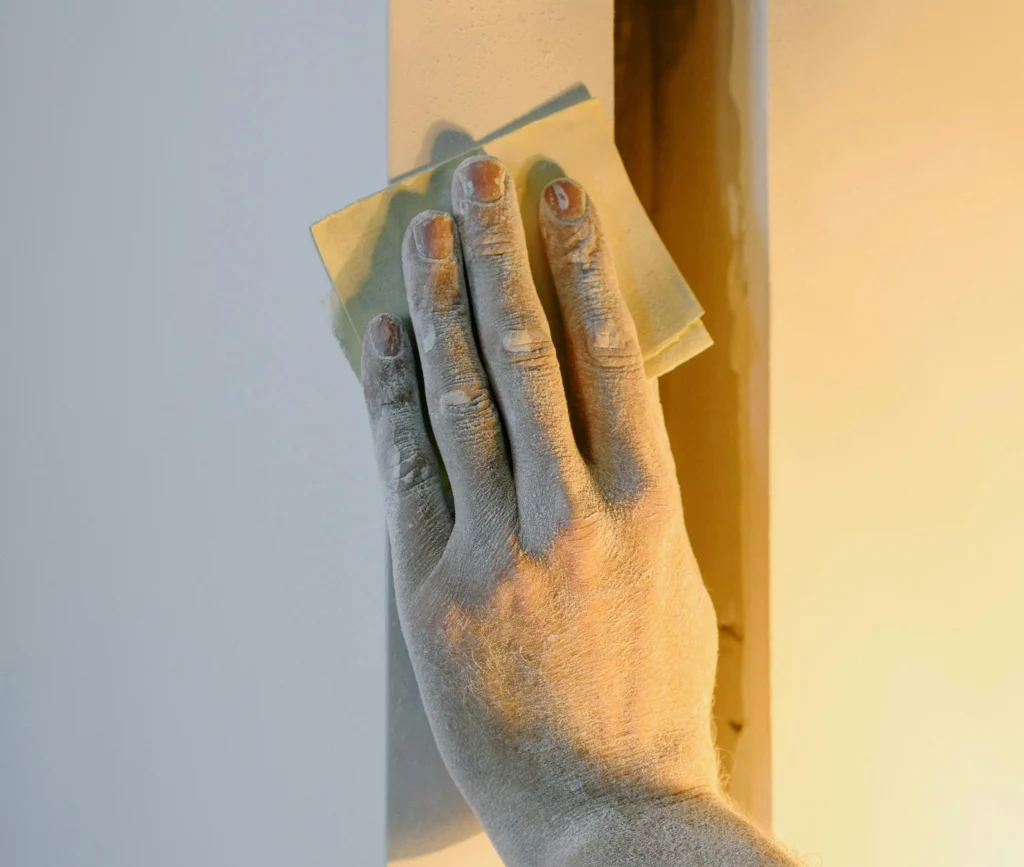
All primers must be applied to clean, grease-free surfaces (for some, the surface must also be moisture free). Any type of residue left on the wall might cause a hindrance to the primer and get in the way of the smoothness of the coats of paint. Lightly sanding the surface before you begin priming is something you can try to make sure your paint job is great. If you choose to sand, make sure you clean up the dust by using a damp cloth to ensure there isn’t any surface residue when you start priming your walls.
Once the primer has dried, a properly primed wall should have an even, dull appearance without glossy patches or obvious missed spots. Proper preparation is one of the biggest factors in achieving that uniform finish.
Primer Helps Cover Dark Colors
Primers can be used to cover up a dark wall, paint a lightly colored wall, or simply paint over another dark color. Some of you might think that a primer might not be necessary for the latter option, but covering a dark-colored wall with another dark color is a challenging feat, and if you don’t follow the right steps, the result might not be how you pictured it. Also, using a primer will prove to be a lot cheaper as only a couple of coats of primer and one coat of paint is sufficient to cover up the surface compared to the 6-7 coats of paint alone. A great tip is to tint your primer gray to further reduce the number of primer coats.
Don’t worry if you can still see some of the previous paint color after priming. Primer is designed to create a consistent surface for the topcoat—not necessarily to completely hide the old color.
Primer Improves Durability and Saves Money
The biggest selling point of primers is probably the fact that they help make your paint job more durable and make it more cost-effective. Plus, in the process, primers help adhere the paint to your walls properly, which is cost-effective and makes your paint job aesthetically appealing. Even though it might seem like an extra cost to you now, in the long run, it will save your money as using a primer will prevent your surface from being chalky, cracking and will make your paint job last a lot longer.
Although primer adds an extra step, it often reduces the number of finish coats needed and helps create a longer-lasting, more professional-looking paint job.
Let Primer Dry Completely Before Painting
The average drying time of the primer and when you apply the topcoat depends on the manufacturer of the primer. It can vary anywhere from a day to a week. If you fail to follow the directions, it may trigger performance issues and cause adhesion problems. Another thing that you must consider while letting your primer dry is the humidity and the temperature. Most recommend putting on the primer when the temperature is around 75 degrees Fahrenheit (or 25 degrees Celsius) and with a humidity of about 50 percent.
Primer may look slightly blotchy while it’s drying, but it should appear more uniform once fully cured. Always follow the manufacturer’s recommended drying times before applying your finish coat.
Conclusion
Priming your walls is one of the most important steps in achieving a smooth, durable, and professional-looking paint job. While not every project requires primer, using the right product, preparing the surface properly, and allowing adequate drying time can make a significant difference in the final result.
If you’re unsure whether your walls need primer or you’d rather leave the preparation to experienced professionals, Imhoff Painting provides expert interior painting services throughout the Denver metro area. We take the time to properly prepare every surface so your finished paint job looks its best and lasts for years.
Frequently Asked Questions
How do you know if a wall needs primer?
Signs that a wall should be primed include bare drywall, fresh drywall repairs, water or smoke stains, peeling paint, glossy finishes, bare wood, or when you’re making a dramatic color change. Priming these surfaces helps improve paint adhesion and creates a more uniform finish.
What should primer look like on a wall?
A properly primed wall should have a smooth, even, matte appearance with consistent coverage. Some of the previous paint color may still show through, but there shouldn’t be glossy patches, peeling, or obvious missed spots.
Is primer supposed to completely cover the old paint?
No. Primer is designed to create a uniform surface for the finish coat, not necessarily to completely hide the previous paint color. It’s normal for some of the old color to remain visible after priming.
How long should primer dry before painting?
Drying times vary depending on the type of primer, temperature, humidity, and the manufacturer’s recommendations. Always allow the primer to fully dry before applying your finish coat to ensure proper adhesion.