Removing a popcorn ceiling can dramatically update the look of your home, but it’s a project that requires more than simply scraping off the texture. Proper preparation, the right tools, and attention to safety all play an important role in achieving a smooth, professional-looking result.
Whether you’re planning to remove a popcorn ceiling yourself or you’re considering hiring a professional, this guide walks through the process step by step. We’ll cover how to prepare the room, safely remove the texture, repair the surface, and repaint the ceiling for a clean, updated finish.
Key Takeaways
- Proper preparation is one of the most important steps in successful popcorn ceiling removal.
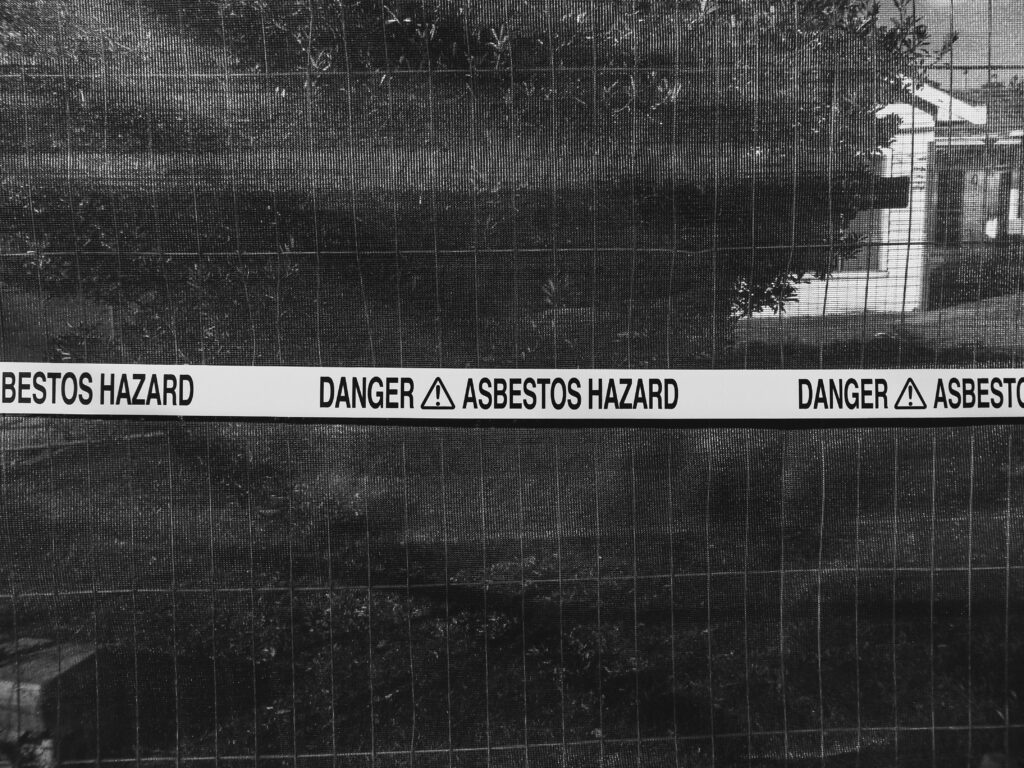
- If your home was built before the 1990s, have the ceiling tested for asbestos before disturbing the texture.
- Lightly wetting the ceiling before scraping usually makes removal easier and helps reduce dust.
- Most ceilings require patching, sanding, priming, and painting after the texture has been removed.
- Larger projects or ceilings containing asbestos are often best handled by an experienced professional.
Table of Contents
- Why Popcorn Ceilings Are Outdated
- How to Remove Popcorn Ceilings Like a Pro
- Preparing Your Home for the Removal Process
- The Step-by-Step Removal Process
- Review and Clean Up
- Ready to Start Painting? Make Sure to Prepare the Surface First
- DIY vs. Professional Popcorn Ceiling Removal
- Professional Popcorn Ceiling Removal in Denver
Why Popcorn Ceilings Are Outdated
Popcorn ceilings were once a common finish in many homes, but today they’re often considered outdated and difficult to maintain. They tend to collect dust, are challenging to repair seamlessly, and can make a room feel older than it is. Removing the texture and refinishing the ceiling with a smooth surface can give your home a cleaner, more modern appearance.
Why Remove a Popcorn Ceiling?
Popcorn ceilings are a thing of the past, and honestly, good riddance! They tend to trap dust like a magnet and if they predate the 90’s, they could also contain asbestos.
Scraping these ceilings off doesn’t just freshen up your space, it also makes cleaning easier and can increase the value of your home.
Test for Asbestos Before You Begin
If your home was built in the 90s or before, don’t start scraping your ceiling yet. Get it tested for asbestos first. You can grab a DIY kit at your local store or call a professional, but either way, it’s a step that you don’t want ti skip. The last thing you want is to have dangerous particles floating in the air. Testing can cost anywhere from $250-$850, which is a small price to pay for peace of mind.
Steps for Asbestos Testing
DIY Testing
Have you decided you want to try and tackle this yourself? First, make sure you grab a testing kit that includes processing fees and the mailer to send your samples. Next, remember, safety gear is a must. Put on your mask, gloves, and other PPE to ensure you are well protected. We have provided a list of these items below.

Once you have your samples, follow the instructions in the kit to package them up and send them off to the lab. You’ll need to set up an online account to track your results, so be ready for that step.
Professional Testing
Professionals will send your samples to a certified asbestos lab for testing. It will cost you around $40 for the first test, and then $25 for each additional sample. The results? You can expect those within five business days. Not bad, right?
How To Remove Popcorn Ceilings Like A Pro: No Mess, Just Results
Tools You’ll Need to Remove a Popcorn Ceiling
Whether you are handling this yourself or bringing in a pro, here is a list of recommended gear to safely and properly remove that popcorn ceiling. Think of this list as a guide and if you’re ever in doubt about what you need, don’t hesitate to reach out to a professional or do a little more research.
Safety Gear
- Personal Protective Equipment (PPE)
- Construction-rated dust masks
- Safety goggles or a full face shield
- Heavy-duty work gloves
Basic Tools
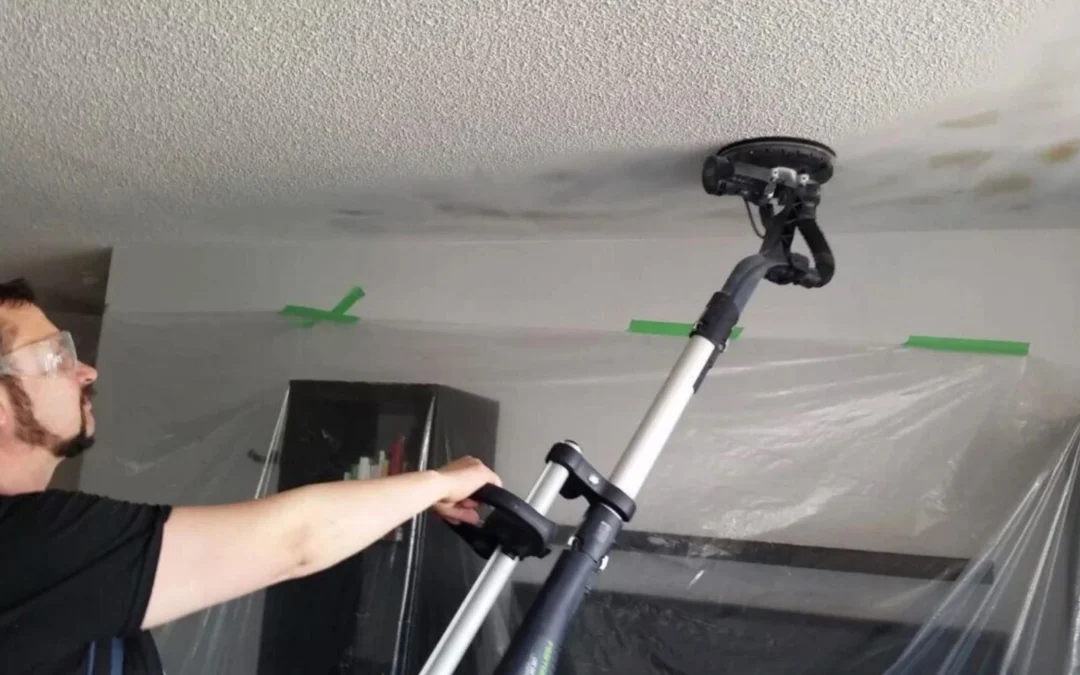
- A sturdy ladder
- Painter’s extension poles
- A wide paint scraper or drywall knife
- Spray bottle or garden sprayer
- Work light
Preparation Materials
- Drywall compound
- Spackling paste
- Sanding blocks
- Paint rollers and trays
- Primer and paint
Once you’ve gathered everything, it’s time to focus on safety and prep the rooms. If you’ve hired a professional, all you need to do is sit back and let them handle the hard work!
Safety Tips Before Removing a Popcorn Ceiling
First things first! Make sure your turn off your HVAC system to keep dust from spreading throughout your home. Use fans to direct that air out through the windows.
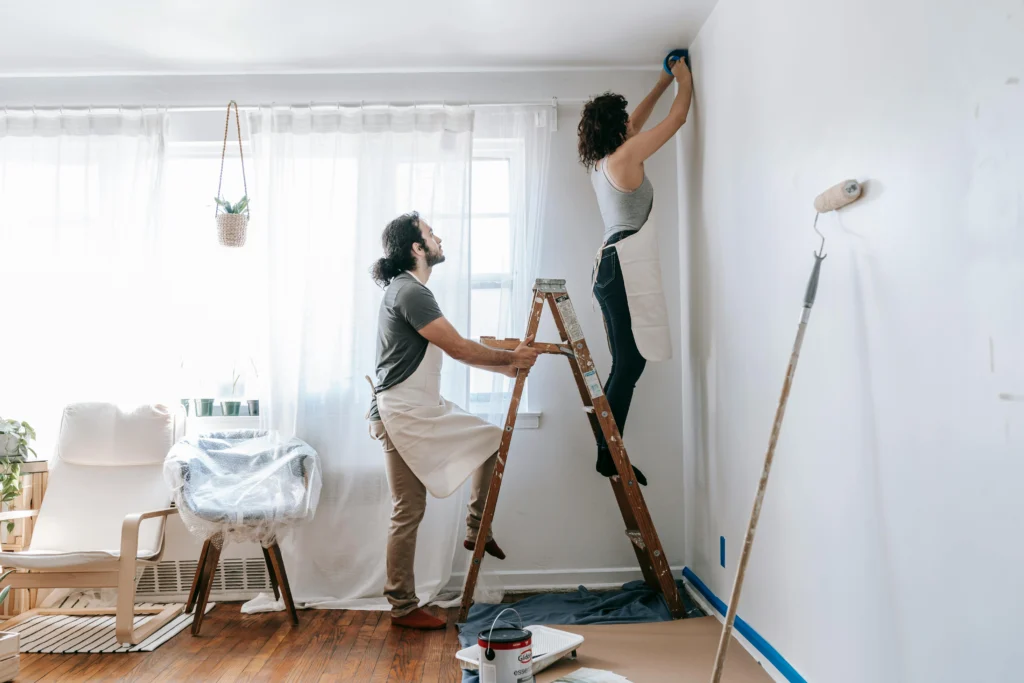
And if you must use a ladder, make sure someone is nearby to lend a hand, you don’t want to go solo on this project!
Preparing Your Home for the Removal Process
Properly preparing your home prior to the removal is a key part of the process. If you get it done ahead of time the process will be a breeze and you will have no massive cleanup after!
Prepare the Room
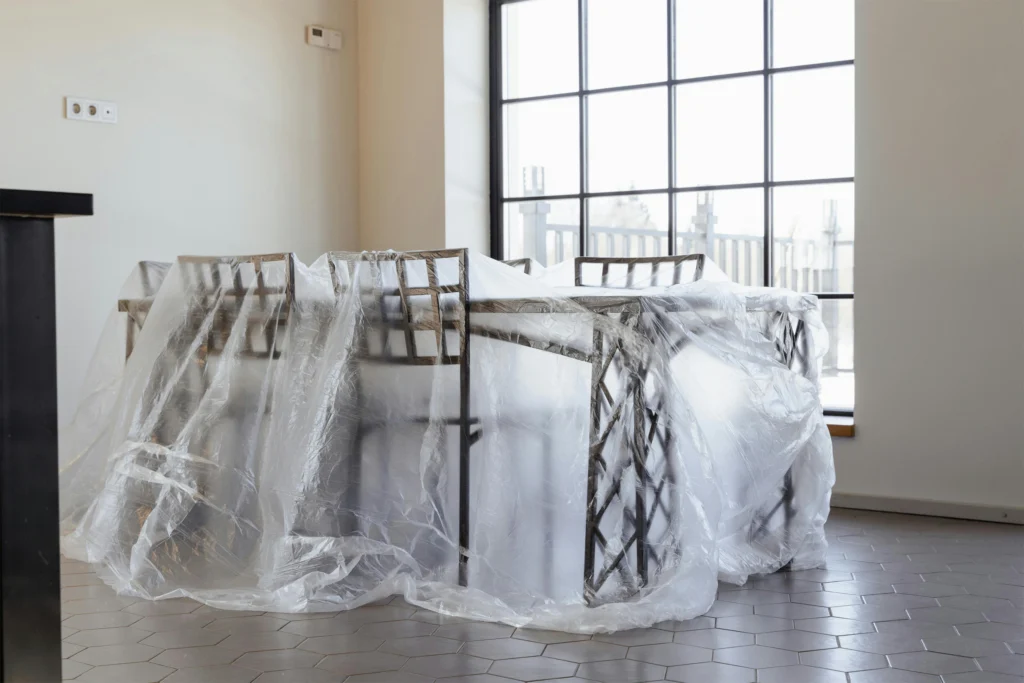
Move any furniture you can out of the room. For anything you can’t budge, cover it up with waterproof tarps and heavy-duty plastic sheeting.
Protect Surfaces
Cover the floors and walls with plastic sheeting, and secure the edges with reliable duct tape. For a more secure seal, use painter’s tape along the wall and ceiling edges.
Electrical Precautions
No one wants to get electrocuted! To avoid that, turn off the power to your ceiling fixtures and fans. You can either remove them entirely or cover them with plastic and secure them, just like you did with the surfaces.
The Step-by-Step Removal Process
We recommend following this step-by-step process to ensure a seamless experience in the removal of your popcorn ceiling. This can certainly feel overwhelming, so if that’s the case, don’t hesitate to call in a local professional. It might cost a bit more, but it will save you time and hassle in the end!
Step 1: Wet the Ceiling Texture
You should work in sections of about 10 square feet at a time. Get started by lightly spraying warm water over the area until the texture is damp enough to scrape.
It is a good idea to test a small spot first so you can get a feel for it before tackling the larger sections. Do not overdo it, as too much water can cause damage to your drywall. Once it’s damp enough, you’re ready to start scraping!
Step 2: Scrape the Popcorn Ceiling
Hold your drywall scraper at a 30-degree angle and apply steady, even pressure as you scrape the damp sections. Start slow to get the hang of it, and once you’ve got some practice, you can pick up the pace!
To get the best results:
- File down the edges of smaller tools to avoid gouging the surface.
- Wipe the blade clean often to remove any residual buildup.
- Maintain consistent pressure to protect the drywall underneath.
- For more challenging spots, use shorter, more controlled strokes.

How to Remove Stubborn Popcorn Ceiling Texture
If you come across areas that are harder to scrape than others, try these steps:
- Reapply warm water to the surface and let it set for a few minutes before trying again.
- Use a smaller tool to work around corners, fixtures, and hard-to-reach areas.
- Dry scraping might be more effective if the texture still won’t budge.
“Remember, you can always spray the ceiling again to help loosen up a difficult area.” – Architectural Digest Staff [1]
Review and Clean Up
Next, you need to review your work for errors and prepare to clean up the work area.
Fixing Surface Damage
- After removing the popcorn texture, check the exposed ceiling for any damage. You can use a damp sponge to clean off any remaining debris.
- For minor issues, apply a thin layer of joint compound to scratches, fill dents with a smooth application, or use multiple layers of compound for deeper gouges. Just make sure to sand between coats!
- For more severe damage, like large cracks or weak seams, reinforce the area with drywall tape before covering it with joint compound. Make sure each layer dries fully before adding a new one.
Once all repairs are done, you are ready to sand the surface for a smooth finish!
Easy Breezy Clean Up
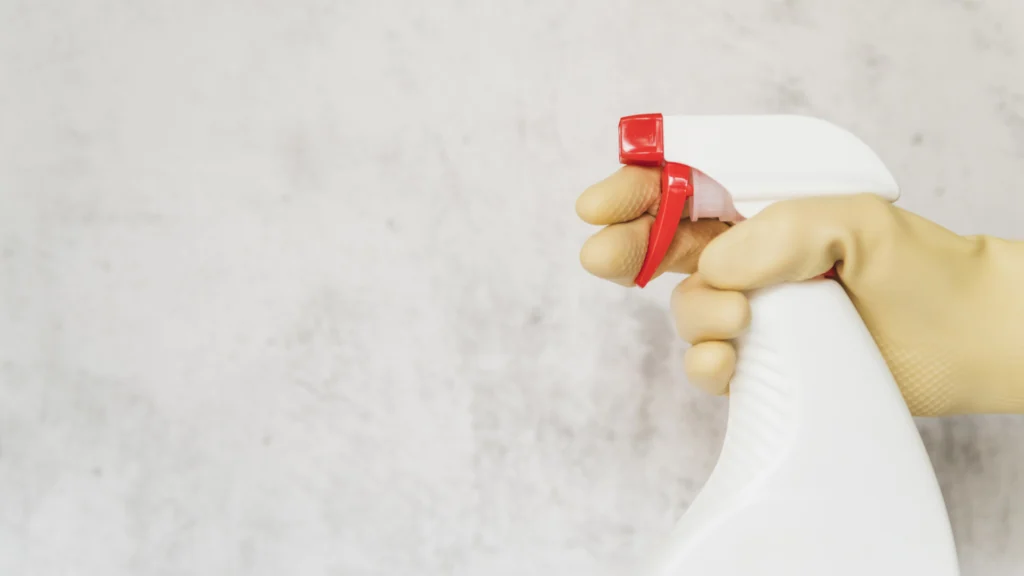
If you have protected the work area and moved any furniture, as previously discussed, cleanup should be a breeze. Start by vacuuming any loose debrise from plastic sheeting, working from the center and moving outwards.
Roll up the plastic to carefully trap any debris inside, then toss it into garbage bags. Next, vacuum the room with a HEPA=filtered vacuum, then wipe down walls, windows and hard floors with a damp cloth and citrus based cleaner. Keep any rooms you worked in well-ventilated until the dust settles.
Ready to Start Painting? Make Sure to Prepare the Surface First
sbb-itb-634cab1
So you’ve gotten everything cleaned up, sanded, and now you are ready to start painting? Make sure to prepare your work area again first, properly covering any areas you don’t want paint to get on with plastic sheeting. You’ll also want to make sure you cover any trim with painters’ tape to avoid getting paint on the ceiling trim.
Start sanding with 60-80 grit sandpaper to remove the rough areas, then you can move to a 120-220 grit sandpaper for a more polished surface[2]. Once the ceiling is smooth, then wipe it down to remove any dust left from sanding. Now that your ceiling is nice and clean, it is time for you to start painting!
Paint Preparation
Prepare the room by removing furniture, covering fixtures, and taping off the edges of the ceiling, similar to what you did before you removed the ceiling.
Primer Application
You’ll want to use a high-quality drywall sealer to get started with priming the surface. This will highlight any areas that may be in need of extra patching and ensure that the paint adheres properly. You must let the primer dry completely before you continue.
Paint Selection
Choose paint that is specifically designed for ceilings to help reduce dripping. Flat or matte finishes are a good choice for hiding any imperfections, while an eggshell finish will work well in kitchens and bathrooms because of its moisture resistance[3][4.
Application Tools
| Area Type | Recommended Roller Nap | Best For |
|---|---|---|
| Smooth Ceiling | Low-nap (¼ inch) | Even coverage, minimal texture |
| Slightly Textured | ½ inch nap | Better coverage in shallow grooves |
| Edges/Corners | 2-inch angled brush | Precise cutting in |
When painting, use W-shaped strokes to ensure even coverage [3]. For the best results, allow at least six hours between coats and apply a minimum of two coats [2].
DIY vs. Professional Popcorn Ceiling Removal
Many homeowners consider removing a popcorn ceiling themselves, especially after seeing how straightforward the process appears. While it’s certainly possible for some projects, it’s important to consider the time involved, the condition of the ceiling, and whether asbestos testing or repairs may be necessary before deciding which approach is right for your home.
Removing a popcorn ceiling yourself requires more than a few basic tools. In addition to the time involved, you’ll need to properly prepare the room, protect surrounding surfaces, make repairs, and repaint the ceiling once the texture has been removed. For many homeowners, hiring a professional can simplify the process and help ensure a better finished result.
| Comparison | DIY | Professional |
|---|---|---|
| Cost (500 sq. ft.) | $300–$900 | $900–$2,500 |
| Time | 2–4 days | 1–2 days |
| Asbestos Handling | Extra effort/cost | Handled for you |
| Skill Required | High | None |
Choosing Between DIY or Professional Help
Whether you choose to do it yourself or hire a professional is entirely up to you. If you choose to tackle the project yourself, you should be prepared for the time it takes to invest in such a large-scale project and ensure that you are meeting the proper safety standards. In the end, you will spend as much on supplies and testing as you would to hire a professional to do the same work.
For larger projects or ceilings requiring repairs, many homeowners find that hiring a professional provides greater peace of mind and a more consistent finished result.
When You Should Choose to Hire a Professional
You should opt for professional assistance if your project involves a large area, tight deadlines or physical challenges. Additionally, if your home has any extra safety risks, contacting a pro is your best option. Season experts like our team come equipped with the right tools and knowledge to get the job done quickly and safely. They also ensure that waste is disposed of properly and follow local regulations.
Price Breakdown
Here is an example of the costs to help you weight your options between doing it yourself or hiring a professional:
| Cost Factor | DIY | Professional |
|---|---|---|
| Basic Materials | $100–$500 | Included |
| Labor | Your time | $15–$40/hour |
| Square Foot Cost | $0.50–$1.00 | $1.00–$2.00 |
| Waste Removal | $200–$400 | Included |
| Asbestos Testing | $250–$850 | Often included |
| Total Average Cost | $300–$900 | $900–$2,500 |
For a typical 500-square-foot ceiling, DIY costs can climb to around $900, factoring in materials and disposal fees. Professional services, while pricier, offer a complete package and skilled execution.
Time Requirements
Time is another important consideration. While a professional crew can often complete an average-sized room in a day or two, a do-it-yourself project may take considerably longer depending on the size of the room, the condition of the ceiling, and the amount of repair work that’s required afterward.
Also, if asbestos is found, then you will need to commit more time to the project and add more costs to comply with safety protocols. When the professionals have to remove asbestos, the costs is usually around $3-$7 per square foot[5.
Professional Popcorn Ceiling Removal in Denver
Removing a popcorn ceiling is a project that requires careful preparation, patience, and attention to detail. While many homeowners are capable of tackling the work themselves, others prefer the convenience and peace of mind that comes with hiring an experienced professional. Understanding the time, costs, and effort involved will help you decide which option makes the most sense for your home.
If you decide to take the DIY approach, make sure you’ve completed the necessary preparation, tested for asbestos if appropriate, gathered the proper tools, and allowed enough time to complete the project safely. Careful planning goes a long way toward achieving a smooth, professional-looking result.
If you’d rather leave the work to an experienced team, Imhoff Painting specializes in professional popcorn ceiling removal throughout the Denver metro area. We take care of every step of the process—from protecting your home and removing the texture to repairing, priming, and preparing the ceiling for paint. Whether you’re updating a single room or your entire home, our experienced craftsmen deliver smooth, high-quality results with careful attention to detail.
If you’re ready to update your ceilings, contact Imhoff Painting to schedule a consultation and learn how we can help transform your home.