Table of Contents
- Should You Skim Coat Your Ceiling Before Painting?
- Quick Answer
- Skim Coating Fixes
- What Problem Does Skim Coating a Ceiling Fix?
- Pros of Skim Coating
- DIY VS Professional Help
- Making Your Final Decision
Should You Skim Coat Your Ceiling Before Painting?
What Problems Does Skim Coating a Ceiling Fix?
Skim coating is a practical way to fix various ceiling issues, leaving you with a smooth, polished surface. Here’s how it can help with some common problems.
Fixing Surface Damage
Every day wear and tear can leave your ceiling looking less than perfect. Minor cracks, flaking paint, or even just the humidity in the air can take their toll on your ceiling. Over time, these start as a few small problems and grow into a surface that looks old and neglected. Skim coating can help hide these unsightly damages and refresh your ceiling without needing a replacement, or worse, a full drywall or water damage repair.
Removing Old Textures
Ceiling textures like popcorn and knockdown finishes can make a space feel outdated. Let’s be honest, no one is bragging about their popcorn ceiling. Initially, these textures were used to hide imperfections and speed up construction, but now people realize the disadvantages of dated and hard-to-clean ceilings. If you’re ready to update your home, our popcorn ceiling removal service can give your ceilings a fresh, smooth, modern look
Repairing Water Damage
Water damage often leaves behind water stains, bubbling paint, and, in some cases, warped areas even after you have fixed the issue. The ceiling might be dry, but the damage has already been done. Even worse is that these marks can bleed through the paint, making it hard to get a clean, even finish on your paint job. Use skim coating to help level the surface and cover up any discoloration before you paint your ceiling.
Pros of Skim Coating
Smooth Finish and Lasting Results
A Level 5 finish creates a beautiful, fluid ceiling that enhances paint adhesion and durability. The smooth surface gets rid of bumps and seams, helping paint apply more evenly and last longer.
Benefits for Your Home
If you want a ceiling that is easier to maintain, skim coating is the solution for you. A ceiling that has a smooth surface will collect less dust, making it easier to keep clean. The additional compound layer helps to protect the ceiling from routine wear and tear. If you have to repair your ceiling, touch-ups and problem spots are a simple fix.
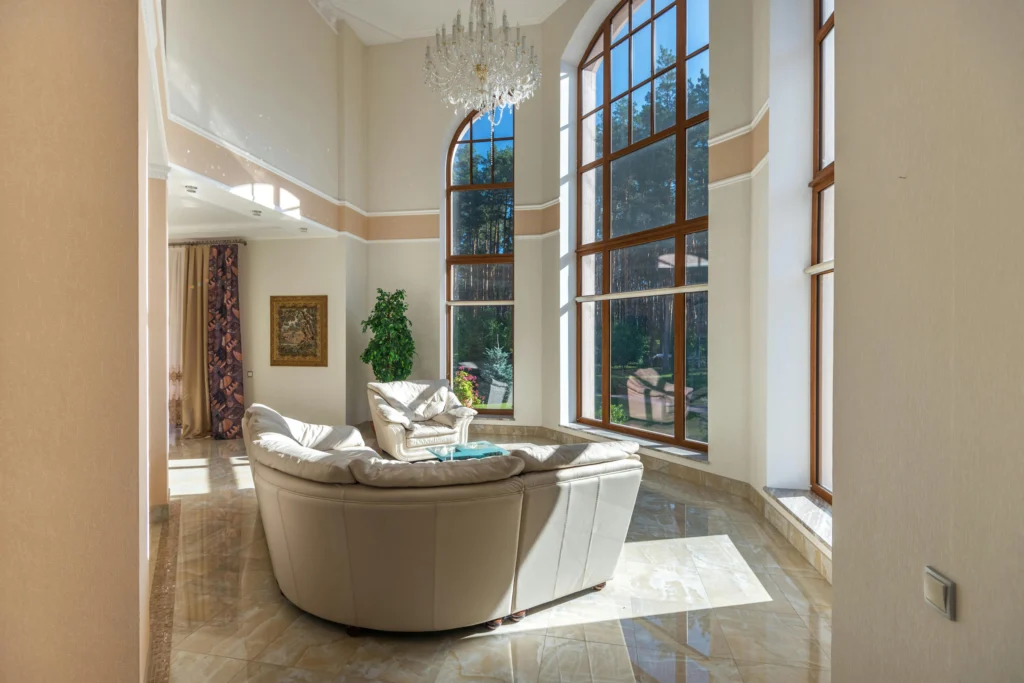
Skim Coating Ceilings in Denver Homes
Many older Denver homes have textured ceilings, plaster imperfections, settling cracks, and patchwork repairs that make skim coating especially valuable before repainting.
At Imhoff Fine Residential Painting, we often recommend skim coating for historic homes, luxury renovations, and high-visibility spaces where a flawless finish matters most.
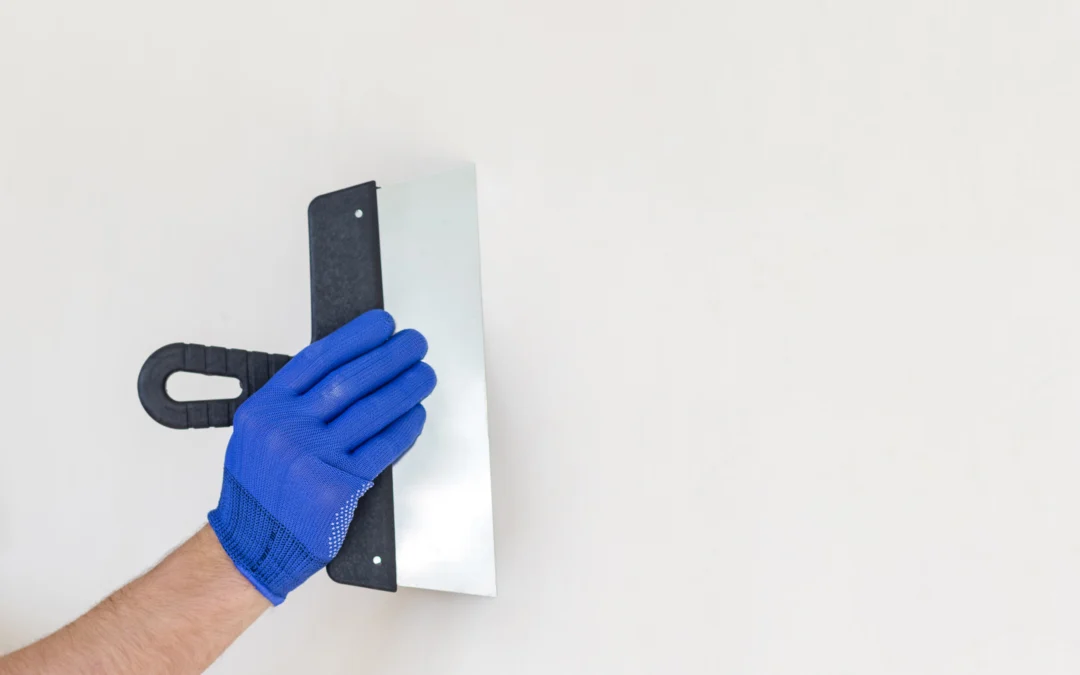
Professional Ceiling Skim Coating vs DIY Repairs
Doing It Yourself
Taking on a skim coating project yourself can save money, but it requires patience and precision. The process involves cleaning, priming, and applying multiple thin coats, which takes time and focus.
DIY could be a good option if the ceiling has only minor imperfections and you’re confident in your ability to handle the work. Just remember, the final result will depend heavily on your skills and how carefully you approach each step. Take a look at the tools needed and the steps to follow if you decide to tackle this project on your own.
However, skim coating ceilings can be challenging due to the overhead work and difficulty in achieving a uniform finish. For best results, especially for large areas or high ceilings, hiring a professional like Imhoff Painting Co is advisable.
Required Tools
Tools and Materials List
To get started on your ceiling skim coating project, you’ll need the following:
Basic Tools:
- 12-inch and 14-inch drywall knives
- Putty knife
- 3/4-inch nap roller and frame
- Mixing bucket
- Power drill with a mixing paddle
- Fine-grit sandpaper (120–220 grit)
- Sanding pole
- Drop cloths
- Painter’s tape
- Ladder or scaffolding
Materials:
- All-purpose joint compound
- Drywall primer
- Clean water for mixing
- Stain-blocking primer (for water stains)
- Mildew-resistant primer (for bathrooms)
Safety Gear:
- Dust mask
- Safety goggles
- Work gloves
Once you’ve gathered everything, you’re ready to follow the steps below for a smooth ceiling finish. You can download a copy of this checklist here to print and keep it handy!
Basic Application Steps
- Prepare the Surface: Start by removing any loose paint or plaster. For the best results, scrape away loose paint, sand the surface, patch any holes, and apply a primer before skim coating.
- Sand the ceiling to create a slightly rough texture, then clean away all dust and debris. Depending on the condition of your ceiling, apply the right primer: stain-blocking for water-damaged areas or mildew-resistant for spaces like bathrooms.
- Mix the Compound: Combine the joint compound with water until the texture is thick but smooth. Ensure there are no lumps, and clean your mixing tools afterward to avoid the compound hardening on them.
- Apply the Compound: Use your 3/4-inch nap roller to roll the compound onto the ceiling in 4×4 ft sections. Then, use a drywall knife with firm, even pressure to spread the compound smoothly. Work across the ceiling systematically, cleaning your blade as you go to avoid buildup.
- Layering Coats: Plan for three thin coats of compound. Let each coat dry for 24 hours before applying the next. Alternate the direction of each coat to ensure even coverage:
- First coat: Apply vertically
- Second coat: Apply horizontally
- Final coat: Apply vertically again
- Finish the Surface: Sand the dried surface using fine-grit sandpaper in circular motions. Use good lighting to check for imperfections as you go. Once sanding is complete, remove all dust before moving on to priming and painting.
Proper ventilation is essential throughout the process to ensure even drying and to keep humidity levels low.
When to Call in the Pros
There are situations where hiring a professional is the smarter choice. You might see serious problems like deep cracks or water damage, or be faced with challenging conditions like high ceilings.
Maybe you have an issue with a complex texture or an extensive area to cover. Your painting project could even include multiple rooms at one time. In cases like these, it is best to call your local professional.
Professionals like the team at Imhoff Painting have the tools and knowledge to handle complex ceiling repairs. They can fix visible flaws and address hidden issues, delivering a finish that stands the test of time.
Making Your Final Decision
For reference, one gallon of drywall compound covers about 75 square feet , making skim coating an affordable choice for most spaces. Keep in mind that you’ll need 12–24 hours of drying time between coats, and the entire project may take a few days to complete.
Here’s a quick guide to help you decide if skim coating is the right solution:
| Factor | Ideal for Skim Coating | Better to Consider Other Options |
|---|---|---|
| Damage Type | Small cracks, seams, or texture issues | Severe structural damage or active leaks |
| Surface Area | Small to medium-sized rooms | Large-scale projects or entire homes |
| Budget | Seeking a low-cost solution | Budget allows for full replacement |
| Timeline | Can dedicate 2–3 days to the project | Requires an immediate fix |
| Ceiling Condition | Stable with no moisture issues | Has mold or water damage |
Use this table as a checklist before moving forward.
“Skim coatings are a cost effective way to repair a wall without having to replace it entirely.” – NYC Interior Remodeling [2]
Remember, before you start it is important to confirm that there are no other structural or moisture issues first. As mentioned before, skim coating can hide surface problems, but it isn’t an option to resolve structural issues and water damage. Consider the time that you have available to take on a project like this before determining if you should do it yourself or call in a professional. If you want a professional-grade, Level 5 type of finish, then it’s best to call your local painting company.
Ready to Smooth Things Over?
Give Imhoff Painting a call if you’re in the Denver area and we will make your ceiling a masterpiece instead of an eyesore. We offer free estimates, real results and zero judgement for your textured ceiling.