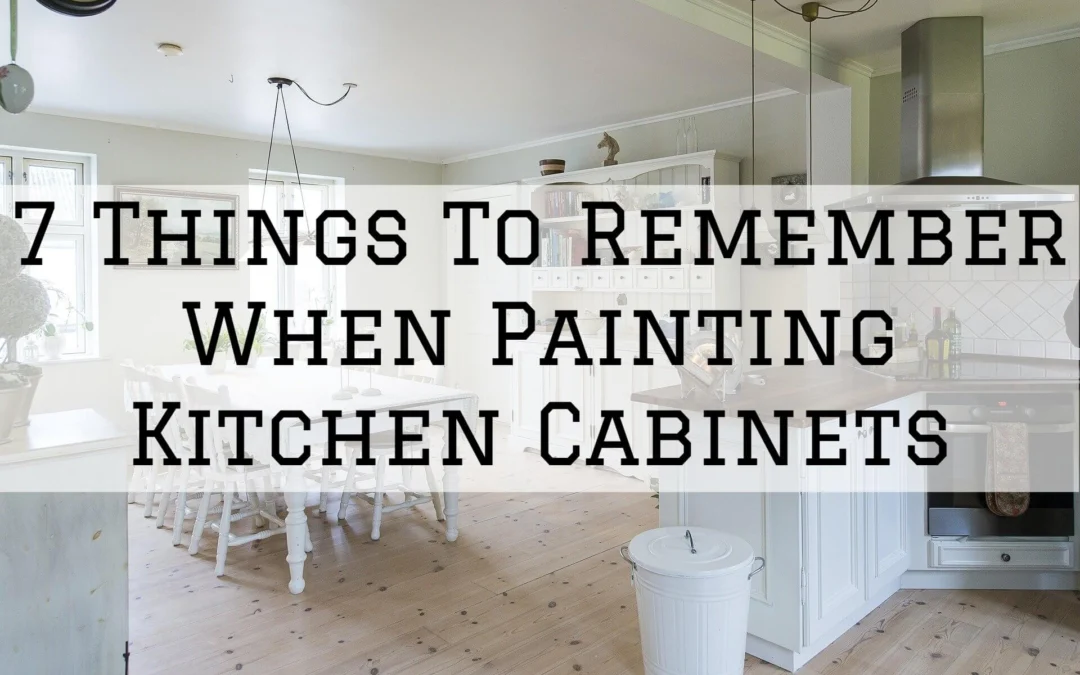
7 Things To Remember When Painting Kitchen Cabinets in Denver Metro, CO
Painting kitchen cabinets is one way to get a new look to your kitchen without spending the money on entirely replacing them.
The process of painting kitchen cabinets is a somewhat complex one, even for those that are well versed in doing it, let alone a person who is approaching doing it for the first time.
It’s important to realize that if you have the information on hand, you can get the job done well.
With that being the case, let us now look at and consider seven things to remember when painting kitchen cabinets in Denver Metro, CO.
1. You Can Use More Than One Color
It’s sometimes thought when you are painting the kitchen cabinets that you need to stick with one color.
This is not the case at all — you can see examples of two tone kitchen cabinets online, but you should remember that not all colors go well together.
Black and gold, for example, are two colors that look nice together.
Green and purple, on the other hand, though they have been seen together in comics, probably are not best for your kitchen.
2. You Should Remove Cabinet Doors And Drawers Before Painting
When you are looking to paint your kitchen cabinets, one of the important first steps in the process is to remove the doors and drawers.
One of the reasons that you will want to do this is that it is far easier to both clean and paint your cabinets, as you will have nothing in the way when you are working in the cabinets.
Moreover, it’s good to have the doors off because it is considerably easier to paint the doors when they have been removed from the cabinets as they will be better painted when horizontal rather than vertical.
When you paint the doors, you will want first to paint the inside of the doors rather than the outside because if you happen to smudge the door when you flip it over to paint the other side, the smudge will be on a side that is less commonly visible.
Of course, such smudges may be entirely less visible should you give the door more time to dry.
3. Make Sure You Give Enough Time For The Painting Project
Some people go into a kitchen cabinet project thinking they’ll be able to knock it out in only a couple of hours — this is a mistake.
The process of painting a set of kitchen cabinets can take upwards of a few days, depending on how large they are and how many people you might have helping you.
When you factor in the time that it takes the different coats of paint (and primer) to dry, you are looking at a project that will undoubtedly take time to complete.
4. Label Doors And Drawers After Removing Them
It’s essential to label the doors and drawers after you remove them from your kitchen cabinets so that you will know where to put them back.
They might seem like they are interchangeable, but it’s best to put the doors and drawers in the same place from where they came.
5. Use Rosin Paper To Protect Countertops
As you will not want to get paint on your countertops and backsplash, it’s good to protect them.
The best thing to use might just be rosin paper, which is inexpensive and can be placed all over where you don’t want the paint to go.
6. Sand Before Priming
Before you apply the primer coat, it’s good to sand your kitchen cabinets.
Sanding the cabinets prepares the surface to be as smooth as possible to receive the primer coat.
7. Clean Sanding Dust After Sanding
As great as sanding is, it leaves behind remnants in the form of sanding dust, which you will need to remove before priming the cabinets.
Remove the dust with a combination of a vacuum cleaner and tack cloth.
Don’t settle for just any painter when you can get the attention to detail and professionalism from Imhoff Fine Residential Painting in Denver Metro, CO. Call us today to speak with one of our professional color consultants.