Interior trim painting has a bigger impact on a room than most homeowners realize. Clean, smooth trim helps walls, doors, windows, and baseboards look crisp and finished, while visible brush marks, rough texture, or uneven lines can make an otherwise freshly painted room feel unfinished.
Getting professional-looking trim results comes down to preparation and process. Proper sanding, caulking, surface cleaning, and using the right products all play a major role in how smooth and durable the final finish looks.
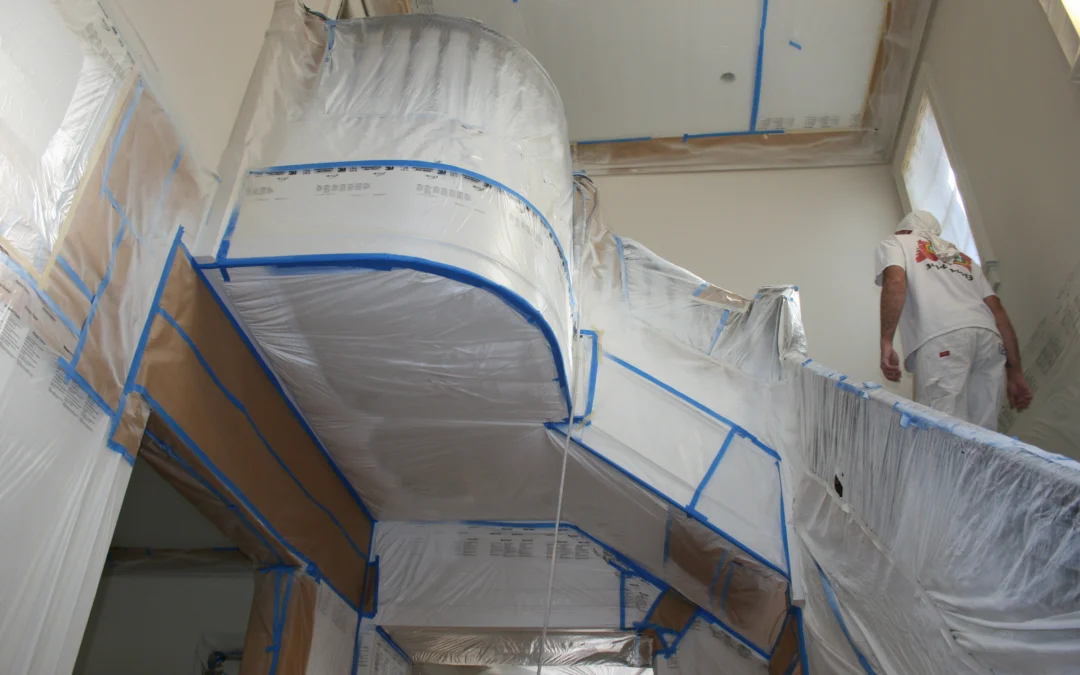
In many Denver homes, especially older homes with detailed woodwork or multiple layers of old paint, prep work becomes even more important. Taking the time to properly prepare interior trim can make a significant difference in both appearance and long-term durability.
Quick Answer
Interior trim painting requires detailed preparation, quality materials, and careful application to achieve smooth, professional-looking results. Sanding, caulking gaps, cleaning surfaces, using the right primer and trim paint, and applying thin even coats all help create a smoother, more durable finish with fewer visible brush marks.
Key Takeaways
- Proper preparation is the foundation of smooth interior trim painting results
- Sanding between coats helps minimize rough texture and visible brush marks
- High-quality enamel or trim paint improves durability and finish quality
- Caulking gaps and repairing imperfections creates cleaner trim lines
- Using the correct brush and application technique helps produce a smoother appearance
- Detailed trim work in older Denver homes often requires additional preparation and surface repair
- Professional trim painting techniques typically create longer-lasting and more refined results
How to Get Smooth Results in Interior Trim Painting
Painting interior trim is no different than painting any other wood or millwork surface in your house. You need to start by sanding the trim until it is smooth (if your trim is MDF, it will already be smooth, but it’s still a good idea to rough it up a little to provide profile for the primer to adhere), vacuum thoroughly with a brush extension, then apply a good quality, leveling primer.
Once the primer has dried overnight, it should be sanded again – this will remove grain fibers that were raised by the primer. Note: oil primer (alkyd) works best for 3 reasons: 1) it dries hard so it sands easy – no rubbery latex to gum up sandpaper; 2) it blocks tannin stains from leeching into your finish coats; 3) it levels nicely. After thorough sanding, clean it by vacuuming, then wipe it down with a lint-free cloth moistened with clean water or clean solvent.

Once you are done with preparing the primed surface, you can apply the first coat of paint. If you need or wish to apply a second coat, you should allow the first coat to dry properly (according to manufacturer’s recommendations) then check it by rubbing over the surfaces gently with clean hands, if the surface feels gritty or rough in places, then sand those areas again but with a finer grit sandpaper than what was used in your pre-prime sanding, then vacuum and wipe clean again with a clean lint free towel – to remove dust, finally apply the second coat of paint. For larger interior painting projects or whole-home updates, working with a professional residential painting company can help ensure a clean and consistent finish throughout the home.
Note: if you’re installing a paint that is dramatically different in color, you may need a third coat – do not try to achieve coverage by applying a heavy coat – this will cause problems like sagging, drips, alligatoring, and an uneven finish.
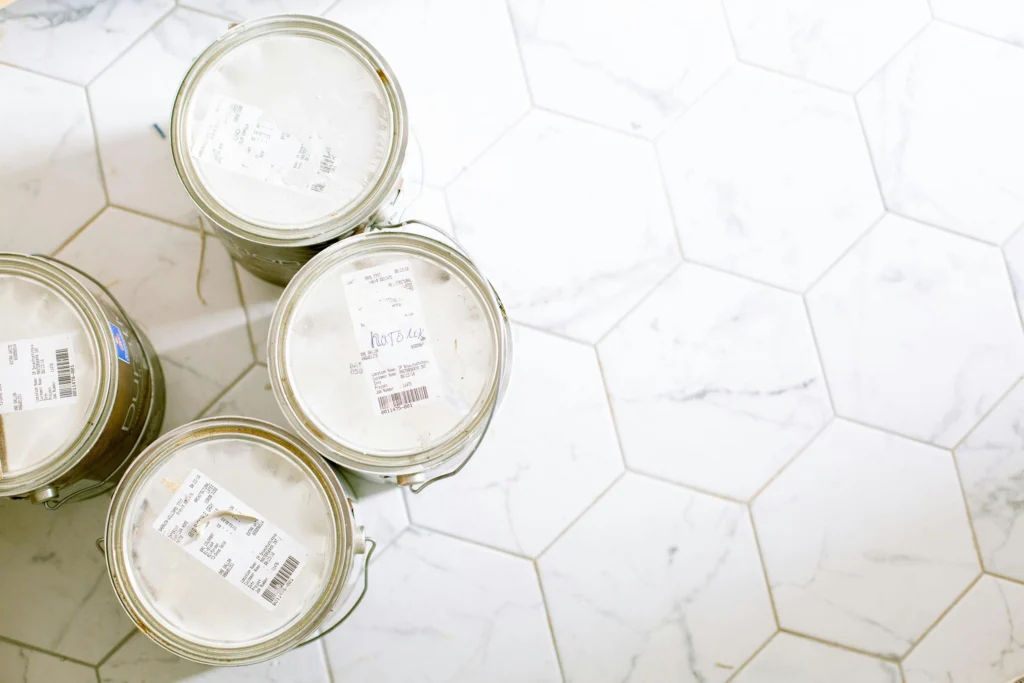
Best Paint and Brushes for Interior Trim Painting
Historically, alkyd-based (oil, or solvent-soluble) paints were mainly used in trim painting because of their high-quality finish, leveling, adhesion, and for their ability to stand up against abuse – plus, that was all that was on the menu. Later, with the introduction of latex and acrylic based (water-soluble) paints consumers now have a choice. These paints are popular because of their ease of use, easy clean up, and minimal environmental impact.
They have drawbacks too (as with most things, there is a trade-off); primarily, acrylic paints don’t offer the same look and feel as oil paints – they typically don’t level as well, or feel as smooth when dried & fully cured, and they don’t dry as hard as oils. New, hybrid materials, are now available; oil-modified acrylics, they offer the leveling characteristics of oil, with the ease of use found in acrylics – however, they can be tricky to use. No matter what type of paint you choose, practice on a piece of scrap if you can, if not, begin painting in a closet or some other less visible area, work your way to the more prominent, visible areas.
Why Proper Paint Curing Matters
Although acrylic paint dries faster than oil, oil paint actually cures (fully hardens) faster than water solubles. This is important if your trim project includes shelves, on which you want to place objects; it is very important to allow your paint finish to fully harden (cure) before placing objects on it.
Acrylics can take up to one month – and sometimes more, depending on where you live, and how thick your paint film is – oils typically cure in about 7-10 days. You can test the cure level by subjecting your new finish to the fingernail test: find an obscure place and gently press the nail of your thumb perpendicularly into the paint, if you see an impression, it may not be fully cured. You can place objects on your new paint anytime you wish, but be warned that they may leave impressions, or even adhere to the film if you’re premature.

Always choose high-quality paint brushes; and buy the brush that is most suitable to the size of molding. Choose a 2 ½ inch tapered sash brush for small trim, and a 3 ½ inch brush for wider trim, flat or block brushes for doors & paneling. If you plan to install new trim, you can prime and paint the trim boards before installing.
Just remember, you’ll need to caulk and putty your trim after you install it, then you can either touch up the putty and caulk, or apply a final coat. If you’re having difficulty, call your trim painting professional in the highlands area for advice.