How to Smooth Textured Walls: Skim Coating & Costs
Key Takeaways
How do you make textured walls smooth? Most sound, painted orange-peel or knockdown walls can be made smooth by repairing the surface, reducing high spots where appropriate, applying thin skim coats of joint compound, sanding and inspecting the finish, then priming and painting. Heavy texture or damaged drywall may need a different approach. The right method depends on the wall, not just the texture pattern.
- Skim coating is often the practical way to cover texture without tearing out otherwise sound drywall.
- Level 4 and Level 5 are defined gypsum-board finish specifications; Level 5 includes a full-surface skim coat and is especially useful under critical lighting or dark, non-flat paint.
- Cost is driven by preparation. Texture depth, repairs, ceiling height, protection and final paint can matter more than the room’s floor size.
- Older homes need extra care. Investigate possible lead paint or asbestos-containing materials before disturbing questionable surfaces.
There’s a moment when you notice it. Maybe afternoon light comes through the living-room windows and every little bump on the wall casts a shadow. Or you’ve hung a favorite painting and the orange-peel finish behind it suddenly seems awfully busy.
A smooth wall changes the room without changing its layout. The light reads differently. The paint color looks more even. And good millwork, art and furniture can do what they’re supposed to do without competing with the wall behind them.
But getting there takes more than a bucket of drywall mud and a Saturday afternoon. If you’re wondering how to smooth textured walls in an existing Denver home, here’s what the work actually involves, where the cost comes from, and how to choose the finish you want. This is the practical companion to our earlier article on why homeowners are moving away from textured walls.
Can You Make Existing Textured Walls Smooth Without Replacing the Drywall?
Yes, often. When the drywall is sound and the existing coating is stable, a skilled finisher can usually flatten the appearance with a properly prepared skim-coat system. You don’t necessarily have to remove every bump down to bare drywall.
That last point matters. People search for “how to remove texture from walls,” but physically stripping the texture isn’t always the best solution. On painted walls especially, scraping can damage the paper face of the drywall while leaving an uneven surface that still needs finishing. In many cases, the sensible approach is to address loose or prominent texture, prepare the coating for adhesion and cover what’s left with carefully applied compound.
The exceptions? Walls that are soft from moisture, delaminating, badly cracked, or covered with materials that can’t safely be disturbed. Those need an assessment before anyone starts sanding or coating. Our drywall repair and surface-preparation services address the underlying condition, not merely how the wall looks from across the room.
How to Smooth Textured Walls: The Professional Process
The exact sequence varies with the surface and products being used. Still, a well-planned texture-to-smooth project generally follows these steps.
1. Inspect the texture, existing paint and wall condition
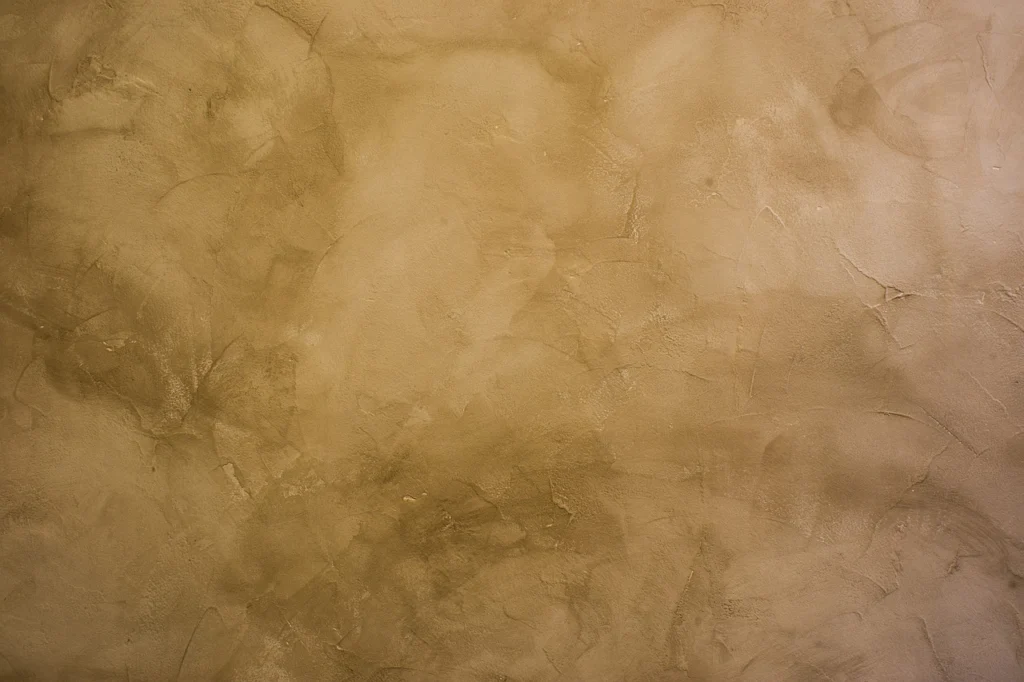
First, work out what’s actually on the wall. Is it a thin orange-peel spray? Broad knockdown ridges? Hand-troweled plaster? Has it been painted five times, or is the finish loose and chalky?
Check for movement at joints, water stains, recurring cracks, peeling paint, wallpaper adhesive and hollow or damaged areas. A skim coat doesn’t repair a leak. It doesn’t make failing drywall strong again either. Any underlying problem needs to be resolved first.
Important for older Denver homes: If painted surfaces in a pre-1978 home may be disturbed, follow applicable lead-safe renovation requirements. The EPA’s Renovation, Repair and Painting guidance explains the rules for contractors. Some older decorative materials may also contain asbestos; if that’s suspected, don’t sand or scrape them until an accredited professional has evaluated the material. See the EPA’s asbestos guidance for homeowners.
2. Protect the home and prepare the surface
Skim coating is not a tidy little touch-up. Floors, woodwork, doors, vents and furniture need protection. Dust control should be part of the plan from the start, particularly in an occupied home with finished hardwood floors or detailed trim.
On a safe, sound surface, preparation may include cleaning away grease and dust, addressing loose material, repairing damaged drywall and lightly reducing prominent ridges where appropriate. The goal is a stable base the new finishing materials can bond to. Sometimes a compatible bonding primer or sealer is needed, depending on the existing paint, residue and chosen compound system.
3. Apply the first skim coat
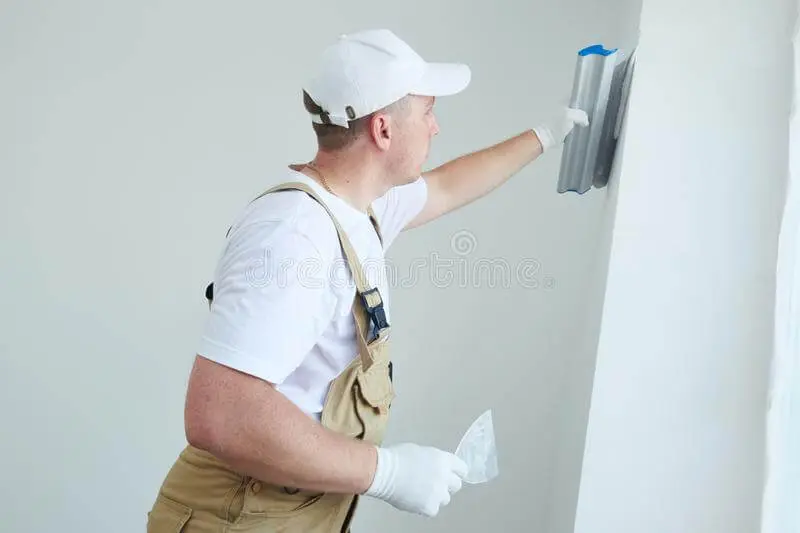
A skim coat is a thin layer of finishing compound worked over the wall to fill valleys and create a more consistent plane. The finisher uses a broad knife, trowel or other suitable equipment, then removes the excess rather than simply piling on material.
This first pass often looks less than perfect. Thats normal. The job is to fill the texture, not to make a single heavy coat do the work of several thin ones. Thick applications can increase the risk of shrinkage, cracking, poor drying and extra sanding.
4. Build up and refine the surface
Once the earlier coat is dry enough under the product’s instructions and site conditions, another pass may be needed. Deep knockdown texture, old repairs and uneven plaster can take additional work. The finisher pays particular attention to corners, long sight lines and transitions around trim.
This is the part most people underestimate. Getting rid of the obvious bumps is one thing. Making a 15-foot dining-room wall appear uniformly smooth when sunlight runs right along it? Different job entirely.
5. Sand, inspect and correct imperfections
After curing or drying as required, the surface is refined using appropriate dust-controlled methods. Then it gets inspected under lighting similar to what the room will actually have. A small ridge that disappears under overhead lighting may jump right out beside a tall west-facing window.
Any remaining tool lines, pinholes or visible transitions are corrected before decorating. The finishing crew should not depend on paint to hide what should have been fixed in the substrate.

6. Prime and paint the finished wall
Fresh compound absorbs paint differently than old painted wall surfaces. A suitable drywall primer helps even out porosity, followed by the specified finish coats. Color and sheen matter here: deep colors, glossier finishes and strong side lighting can reveal flaws that a flat, pale finish might disguise.
We think of surface preparation and painting as one connected job. That’s consistent with Imhoff’s approach to interior house painting in Denver: careful groundwork before the final finish. A beautifully painted wall starts long before the paint can opens.
Ready to Refresh Your Home’s Interior?
Imhoff provides carefully managed interior painting for walls, ceilings, trim, doors, built-ins, and detailed architectural finishes.
Orange Peel, Knockdown and Heavy Texture: Does the Method Change?
Yes. The texture’s depth and stability influence how much preparation and filling you’ll need. Here’s a useful way to think about common surfaces.
| Existing surface | What usually matters most | Likely approach if sound and safe to work on |
|---|---|---|
| Light orange peel | Fine bumps and consistent existing paint | Clean, prepare and apply one or more thin skim coats as needed |
| Knockdown | High ridges and deeper low spots | Address raised areas appropriately, then build a consistent surface with multiple passes |
| Heavy hand texture | Uneven depth, sharp peaks and significant variation | Evaluate leveling effort versus overlay or replacement; more material and labor may be needed |
| Previously wallpapered wall | Adhesive, torn drywall paper and old repairs | Remove residue, stabilize damaged areas and prime or seal as required before smoothing |
| Older plaster wall | Adhesion, cracks, movement and historic material | Repair and stabilize using a system appropriate to plaster; don’t assume drywall mud is the answer to every defect |
A skim coat should never be used to bury a problem that is still moving or deteriorating. And if a contractor says every wall can be made perfect with one pass, we’d ask a few more questions.
Skim Coating vs. Sanding, Overlaying or Replacing Drywall
There isn’t one method that wins every time. A historic home’s original plaster calls for different judgment than a newer room with shallow spray texture.
| Method | Best suited for | Main tradeoff |
|---|---|---|
| Skim coating over a prepared wall | Solid drywall with stable existing texture | Multiple visits, drying time and skilled finish work |
| Reducing texture mechanically | Selected raised areas on materials confirmed safe to disturb | Can damage drywall paper; often still needs skim coating |
| Installing a drywall overlay | Some very uneven but otherwise suitable walls | Adds thickness and affects outlets, casings, trim and other details |
| Removing and replacing drywall | Substantial damage or walls needing rebuilding or access | Greater disruption, debris and reconstruction of adjoining details |
If you have a room with water-damaged drywall, for example, laying fresh compound over it will not solve the moisture problem. Repair the cause and the damaged material first. If it’s a sound, painted orange-peel wall in a Littleton living room, wholesale demolition may be completely unnecessary.
Older homes can be particularly rewarding to work on, but they require restraint. Sometimes the best result comes from preserving and repairing original surfaces, not replacing them with something new just because new is easier to specify.
Level 4 vs. Level 5 Drywall Finish: What’s the Difference?
These terms get thrown around a lot. They’re useful, but only if everyone is talking about the same thing.
Under the Gypsum Association’s GA-214 finish guidelines, Level 4 includes the prescribed finishing of drywall joints, fasteners and accessories and is commonly specified for smooth designs decorated with flat paint or for certain light textures and wallcoverings. It doesn’t require a full-surface skim coat.
Level 5 builds on that joint and fastener treatment by adding a skim coat, or an approved equivalent finishing material, across the entire gypsum-board surface. It’s especially appropriate when there will be critical side lighting, deep paint colors, or non-flat paint sheens. The idea is to create more uniform absorption and appearance, reducing the visibility of joints and fasteners.
| Feature | Level 4 | Level 5 |
|---|---|---|
| Finished joints and fasteners | Yes, to the specified standard | Yes, to the specified standard |
| Entire board face skim coated | Not required | Yes, or an approved equivalent material |
| Common design situation | Smooth wall with flat paint and favorable lighting | Critical lighting, deep colors, non-flat finishes or demanding appearance requirements |
| Does it guarantee a perfectly flat wall? | No | No |
One distinction worth knowing: Level 5 is a formal specification for finishing gypsum panel products. When someone skim coats an existing, previously textured wall, they may produce a similarly refined, smooth appearance. That doesn’t automatically mean the entire existing wall now meets every requirement of a formal Level 5 specification.
So when discussing a proposal, ask what the contractor means by “Level 5.” Does the scope include full-surface finishing? A sample area? A defined lighting inspection? Which primer and paint sheen? Specifics are worth more than the label.
How Much Does It Cost to Smooth Textured Walls in Denver?
For an initial budgeting reference, national cost guides place basic professional skim coating around $1.00–$1.30 per square foot of wall surface. A 2026 Angi skim-coating cost guide reports about $1.10–$1.30 per square foot for typical skimming work, while HomeGuide’s national cost guide gives a similar starting range.
Those figures are not Denver-specific bids and should not be treated as the cost of a complete premium texture-to-smooth renovation. Deep painted texture, extensive repairs, multiple finishing passes, high walls, custom trim protection, priming and final painting can push the total well beyond a basic skim-coat rate. Minimum project charges can affect a single feature wall too.
And remember: contractors measure the wall surface being treated, not simply the floor area of the room. A 12-by-12-foot room with tall ceilings doesn’t have the same wall area as the same room with an eight-foot ceiling.
What drives the price up or down?
- Texture depth: Heavy knockdown or hand-applied texture generally requires more leveling than light orange peel.
- Existing condition: Damaged drywall paper, cracks, water stains, wallpaper residue and failing coatings must be addressed.
- Finish expectations: A wall beside floor-to-ceiling windows may take more refinement than a lightly used guest room.
- Access and detail: Stairwells, tall ceilings, built-ins, ornate trim and tight spaces take more care.
- Protection and logistics: Living in the house during the work calls for a plan for containment, dust and daily cleanup.
- Final decoration: Primer, paint, color changes and desired sheen should be identified as included or excluded.
Two smooth-wall estimates can look miles apart if one includes repairs, finish coats and site protection while the other covers skim coating alone. At Imhoff, our approach to project pricing emphasizes evaluating the actual scope before putting a number on it.
How Long Does It Take to Smooth a Room’s Walls?
A single room can take several days from preparation through final painting. Multiple skim passes need drying time, and that schedule changes with product choice, coat thickness, humidity, temperature and airflow. A larger area or a more demanding finish will take longer.
Ask how the room will be protected, when you’ll be able to use it again, and whether priming and painting are part of the same schedule. Its perfectly fair to ask how dust will be managed. Especially if the room contains expensive furniture, custom woodwork, or you’re living right next door while the work happens.
The Part People Miss: Lighting and Paint Change How Smooth a Wall Looks
Imagine a long hallway with a bright window at the far end. Light travels almost parallel to the wall and makes small variations visible. Change the wall to a deep charcoal or add a satin sheen and you may notice even more.
That’s why a good conversation about smooth walls includes the finished room, not just the drywall. When the finish matters a great deal, reviewing a sample area under the room’s normal lighting can settle expectations before every wall is coated.
A perfectly good smooth wall also doesn’t have to be glossy. Flat and matte paints can be beautiful, particularly in older rooms. But no amount of clever paint selection turns an inadequately prepared surface into proper finish work. If you’re planning an especially dark wall color, you may also find our guide on primer choices for dark colors helpful.
Can You Skim Coat Textured Walls Yourself?
For a small, uncomplicated section of sound wall, some homeowners can get a decent result with patience, practice and the right materials. A full living room is a different proposition. Keeping a large surface visually consistent requires control of the blade, the compound and the drying process. Then comes the sanding, the inspection, and often another round of correction.
DIY is a poor place to start if you’re dealing with suspect older coatings, recurring cracks, water damage, ornate plaster, high walls or extensive built-ins. Those are problems to identify first, not learn on as you go.
If you’re hiring someone, ask for examples of smooth-wall conversions, not just examples of freshly painted textured rooms. Those are two very different portfolios.
What Should a Smooth-Wall Estimate Include?
A good written proposal should answer these questions before work starts:
- Which walls are included, and are ceilings part of the project?
- How will existing orange peel, knockdown or other texture be evaluated and prepared?
- What cracks, holes, damaged paper or plaster repairs are included?
- What dust protection, containment and daily cleanup are planned?
- What finishing standard or agreed-upon appearance is being promised, including any sample area?
- Are primer and final paint included? If so, how many coats and which products or finish types?
- How will corners, trim transitions, outlets and lighting-sensitive walls be addressed?
- What happens if concealed damage or questionable older material is found?
That level of clarity helps prevent the usual “I thought that was included” conversation at the end. If you’re comparing contractors, our questions to ask about a painting contract are a useful companion.
Turn Your Painting Plans into a Clear Project
Imhoff can evaluate your surfaces, preparation needs, finish options, and project goals before providing a detailed, personalized proposal.
Wall Preparation and Finishing Take More Than a Steady Hand
Imhoff Fine Residential Painting works on interiors throughout Denver, Littleton, Cherry Hills Village, Greenwood Village and Golden, including homes with detailed trim, older finishes and surfaces that need repair before painting. We care about the finished appearance, but also about what happens in your home while the work is underway.
These client comments relate to Imhoff’s plaster repair, painting and attention to detail. They are not presented as testimonials for a specific textured-wall conversion.
[htwseo_review id=”39501″]
[htwseo_review id=”39495″]
You can read additional homeowner and designer reviews, or learn more about our process and approach to fine residential painting.
Frequently Asked Questions About Smoothing Textured Walls
Can you skim coat directly over orange-peel texture?
Often, yes, provided the wall and its existing coatings are sound, clean and appropriate for the selected materials. A finisher may need to address prominent bumps, repairs or adhesion issues first. One coat isn’t always enough to create the desired smoothness.
Is it better to sand off texture or skim coat over it?
On many painted walls, preparing and skim coating over stable texture is preferable to aggressively sanding everything off, which can damage drywall paper. The safest and most effective method depends on the texture, the age of the materials and the condition of the existing surface.
How much does it cost to smooth textured walls?
Published national guides commonly put basic professional skim coating around $1.00–$1.30 per square foot of wall surface. Converting textured walls into a finished, painted smooth surface can cost more because of preparation, repairs, additional coats and painting. Imhoff doesn’t publish a fixed per-square-foot rate; a written estimate is needed for Denver-area pricing.
Is a Level 5 finish necessary for smooth walls?
Not always. A Level 4 finish may look very good under flat paint and favorable lighting. Level 5 is generally considered for more demanding lighting conditions, deeper colors or non-flat paint. The formal Level 5 classification applies to gypsum panel finishing, so ask exactly what work is included when discussing an existing textured wall.
Can knockdown texture be made completely smooth?
Often it can be finished to a smooth appearance, though deeper ridges may require more preparation and multiple passes. A wall with serious movement, moisture damage or failed coatings may need repairs or replacement instead of simple skim coating.
Will paint alone hide a textured wall?
No. Paint changes the color and sheen but generally follows the existing bumps and ridges. A heavier paint application isn’t a substitute for leveling the surface. To remove the appearance of texture, the underlying wall needs finishing work.
Do smooth walls show more imperfections than textured walls?
They can. Texture disguises small irregularities, while a smooth finish exposes them more readily, especially with side lighting and glossy or deep-colored paint. That’s why surface preparation, inspection and a suitable finish specification matter.
Should I smooth my walls and ceiling at the same time?
It depends on the design of the room. Many homeowners prefer a consistent appearance across both surfaces, but ceilings can involve different access, lighting and repair needs. Our separate guide on whether to skim coat a ceiling covers those decisions in more detail.
Thinking About Smooth Walls for Your Denver Home?
The right decision starts with the wall that’s actually there. A shallow orange-peel finish in a newer room, a heavily textured staircase and cracked plaster in a historic home should not all get the same treatment.
Tell us what you’d like the room to look like, what bothers you about the present finish, and whether you’re planning to repaint at the same time. We’ll help you think through the preparation, repair and finishing options without pretending every wall needs the most expensive solution.
Ready to make a plan? Request a personalized project estimate from Imhoff Fine Residential Painting. We’ll take a close look at the surfaces and talk through what a genuinely smooth result will require.